Dentures can be an overwhelming process especially when it’s your first time. Woodside Denture Centre in Airdrie, Alberta has created a step by step visual to allow you to understand and appreciate the process of the making of your dentures. The one large difference is that we have an in-house laboratory! We do not send your dentures away like most dentists but have our technicians on hand for every step. This allows quick corrections and less allowance for error. We trust our step by step visual will put you and your family at ease as you begin the journey towards your first pair of dentures.
Step 1 – Chair Side
- Preliminary impressions and centric tray recordings
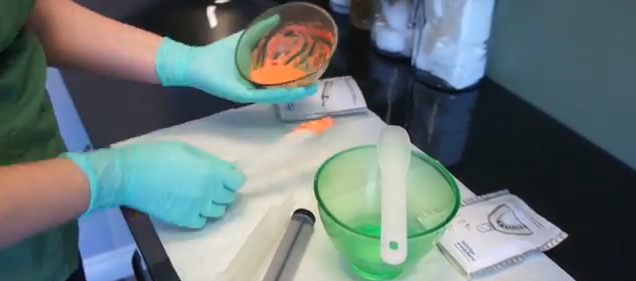
- Taking a Lower Alginate Impression
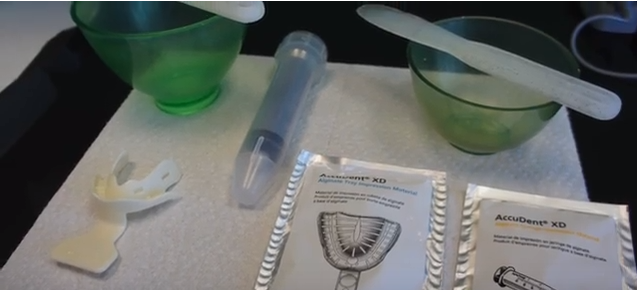
- Preparing the alginate for the impression.
- Bite Record with Centric Tray
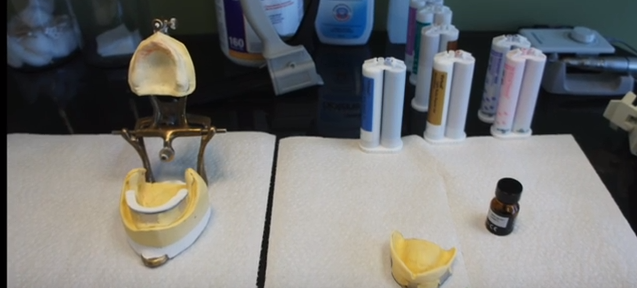
Step 2 In-House Laboratory
- Laboratory Pouring Impressions and Mounting

- Mounting preliminary models with a centric bite record
- Building Custom Impression Trays

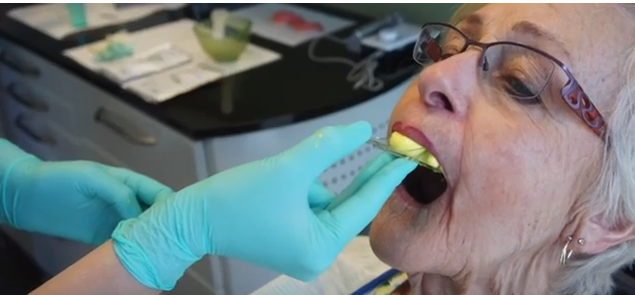
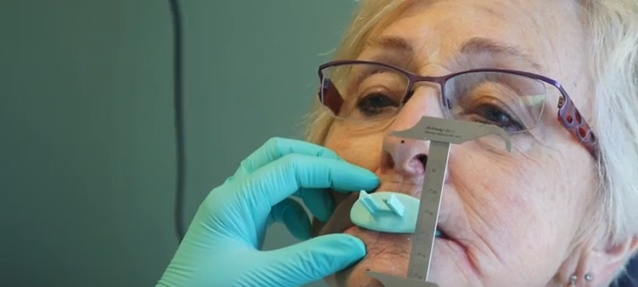
Step 3 Chair Side
- Taking Final impressions with custom trays
- Recording the bite with the gnatho meter

- With specific jaw movements and an arrowhead is produced on the coloured area
- Apex of the arrowhead (red circle) is where the bite is recorded with bite registration material
![]()
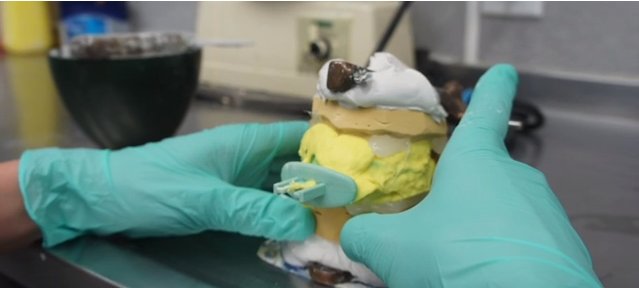
Step 4 In-House Laboratory
- New stone models are poured in the final impressions before mounting

- Setting up the teeth in the Wax

Step 5 Chairside
- The Wax try in

Step 6 In-House Laboratory
- The wax denture is invested in stone and melted away, then replaced with injecting acrylic into the space

- Laboratory finishing the denture

- Before polish / After Polish

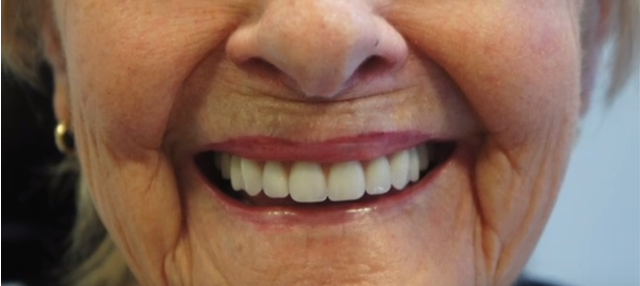
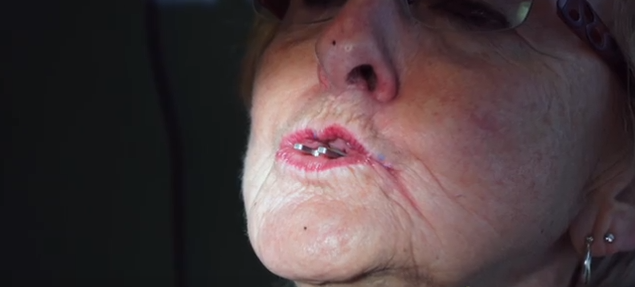
Step 7 Chairside
Delivery 😊 Visit our Denture Gallery to view our Before and Afters and see all our customers happy smiles.